


In this guide, you’ll discover practical ways to reduce image file size while keeping your images clear, sharp, and visually appealing.
Why Reduce Image File Size?
Optimizing image files offers several benefits, including:
- Faster image downloads for website visitors.
- Lower bandwidth usage.
- More efficient storage.
- Faster loading on mobile devices.
- Easier sharing and uploading.
- Better website performance when large images are slowing things down.
The goal isn’t to make every file as small as possible. Instead, you should find a good balance between file size and image quality.
1. Resize the Image Dimensions
One of the easiest ways to reduce an image’s file size is to resize it according to where it will appear.
For example, a 4,000-pixel-wide photograph may be unnecessarily large for a blog column that displays it at only 800 pixels wide.
Resizing an image to suitable dimensions usually reduces the amount of data that needs to be stored and downloaded. It can also help your website deliver images more efficiently.
Tip: Save a copy of the original image before resizing. You might need the full-resolution version for printing or another purpose later.
2. Use Image Compression
Image compression reduces the amount of data required to store an image. The amount of space saved depends on the image format, its content, and the compression method used.
There are two main types of image compression.
Lossy Compression
Lossy compression removes some image information to create a smaller file. When used carefully, the visual difference can be difficult to notice.
It is commonly used for photographs and web graphics where a small reduction in image detail may be acceptable in exchange for a smaller file size.
Lossless Compression
Lossless compression reduces file size without discarding the original image data. The amount of compression achieved depends on the image content and file format.
It is a good option when preserving all the original image data is important.
3. Choose the Right Image Format
The image format you choose can significantly affect the final file size. Different formats work better for different types of images.
- WebP: Often compresses website images efficiently while maintaining good visual quality.
- AVIF: Can offer excellent compression for many types of images.
- JPEG: A common choice for photographs and images containing many colors.
- PNG: Useful for lossless graphics and images that require transparent backgrounds.
Try different formats when appropriate, then compare the results. The best choice depends on the image, compression settings, visual quality requirements, and compatibility needs.
4. Adjust Compression Quality
When using a lossy image compressor, the quality setting can make a significant difference to the final file size.
Higher quality settings generally preserve more visual detail but produce larger files. Lower settings can create smaller files, although excessive compression may cause blurring, color changes, or blocky artifacts.
Start with a moderate quality setting and compare the result with the original image. Adjust the setting until you find a balance between file size and appearance.
Pay particular attention to the following areas when checking image quality:
- Faces and other important subjects.
- Text and fine lines.
- Gradients and areas with subtle color changes.
- Sharp edges and intricate details.
- Areas where compression artifacts are easy to notice.
5. Remove Unnecessary Metadata
Image files may contain metadata such as camera settings, timestamps, and location information.
Depending on the file format and the tool you use, removing unnecessary metadata may reduce the file size slightly. It can also help protect your privacy if a photograph contains location information.
However, some metadata is useful for photography and editing workflows. Check the information before removing anything you may need later.
6. Compare the Original and Optimized Images
Don’t judge an optimized image by its file size alone. A smaller file is only useful if the image still looks good for its intended purpose.
After compression, compare both versions at the same display size and zoom level. Check for the following issues:
- Blurry edges.
- Visible compression artifacts.
- Unexpected color changes.
- Lost fine detail.
- Unexpected transparency changes.
- Unwanted cropping or changes to image dimensions.
If the optimized image looks noticeably worse, try a higher quality setting or a different image format.
7. Use an Image Compression Tool
An image compression tool can make the optimization process easier. You can select an image, adjust the available settings, and compare the result before downloading the optimized version.
For the best results, follow these steps:
- Select the original image you want to optimize.
- Choose a suitable output format.
- Resize the image if its dimensions are larger than necessary.
- Apply a moderate compression setting.
- Review the optimized image for visual quality.
- Check the new file size to see how much space you saved.
- Download and save the optimized version.
- Keep the original image if you might need it later.
Visit CompressImageFree.store for image compression tips and more information about optimizing images for the web.
Common Image Optimization Mistakes to Avoid
Compressing an Image Too Much
Heavy compression can create visible artifacts, blurry details, and unwanted color changes. A smaller file isn’t an improvement if the image quality becomes unacceptable.
Enlarging Small Images
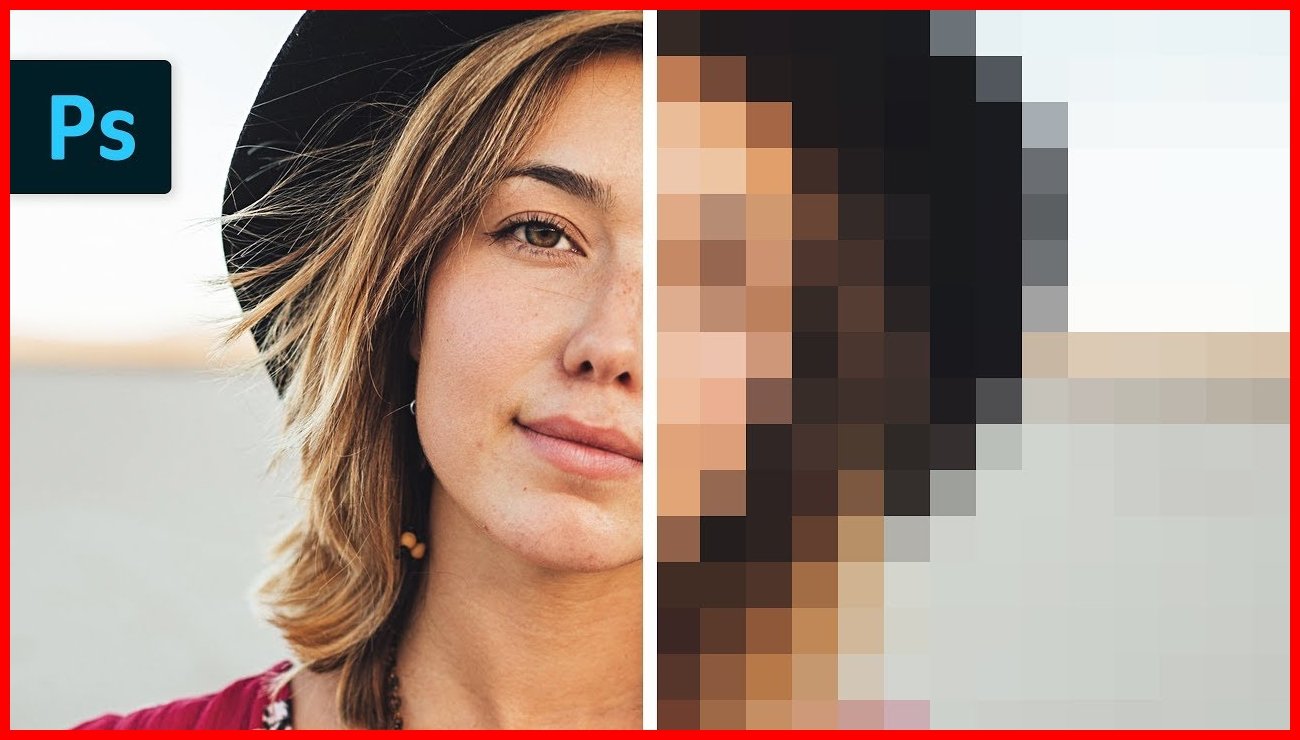
Making a small image larger won’t restore detail that isn’t present in the original. Enlarging it too much can make the image appear blurry or pixelated.
Using the Same Settings for Every Image
Photographs, logos, screenshots, and illustrations behave differently during compression. A setting that works well for one image might produce poor results with another.
Deleting the Original Image
Keep a backup of the original whenever image quality, future editing, or full-resolution use matters. This gives you the flexibility to try different optimization settings later.
Frequently Asked Questions
Can I reduce image size without losing quality?
Yes. Resizing an image that is larger than necessary or using lossless compression can reduce file size without removing image detail. Lossy compression can also create smaller files with little noticeable change in quality, although it is not technically lossless.
Which image format produces the smallest file?
No single format always produces the smallest file. AVIF and WebP can offer very efficient compression, but the final size depends on the image content, dimensions, and compression settings. Compare different formats when file size matters.
Does reducing image size improve website speed?
It can. Smaller image files require less data to download, which can help pages load faster, especially on image-heavy websites or slower internet connections. Other factors, such as server response time, caching, and JavaScript, can also affect performance.
Should I compress every image on my website?
It is generally a good idea to optimize images before publishing them. However, avoid repeatedly compressing the same lossy image because each additional pass can reduce quality without providing much extra file-size savings. Whenever possible, create optimized versions from the original files.
Conclusion
You can reduce image size without a noticeable drop in quality by combining image resizing, compression, suitable format selection, and careful quality checks.
Start by resizing images to the correct dimensions, choose an efficient format, and use compression settings that preserve important details. Before publishing, compare the optimized image with the original to make sure it meets your quality requirements.
These simple steps can produce smaller image files and help your website load faster, creating a better experience for your visitors.
Visit CompressImageFree.store for more practical tutorials on image compression, editing, conversion, and optimization.




Leave a Comment